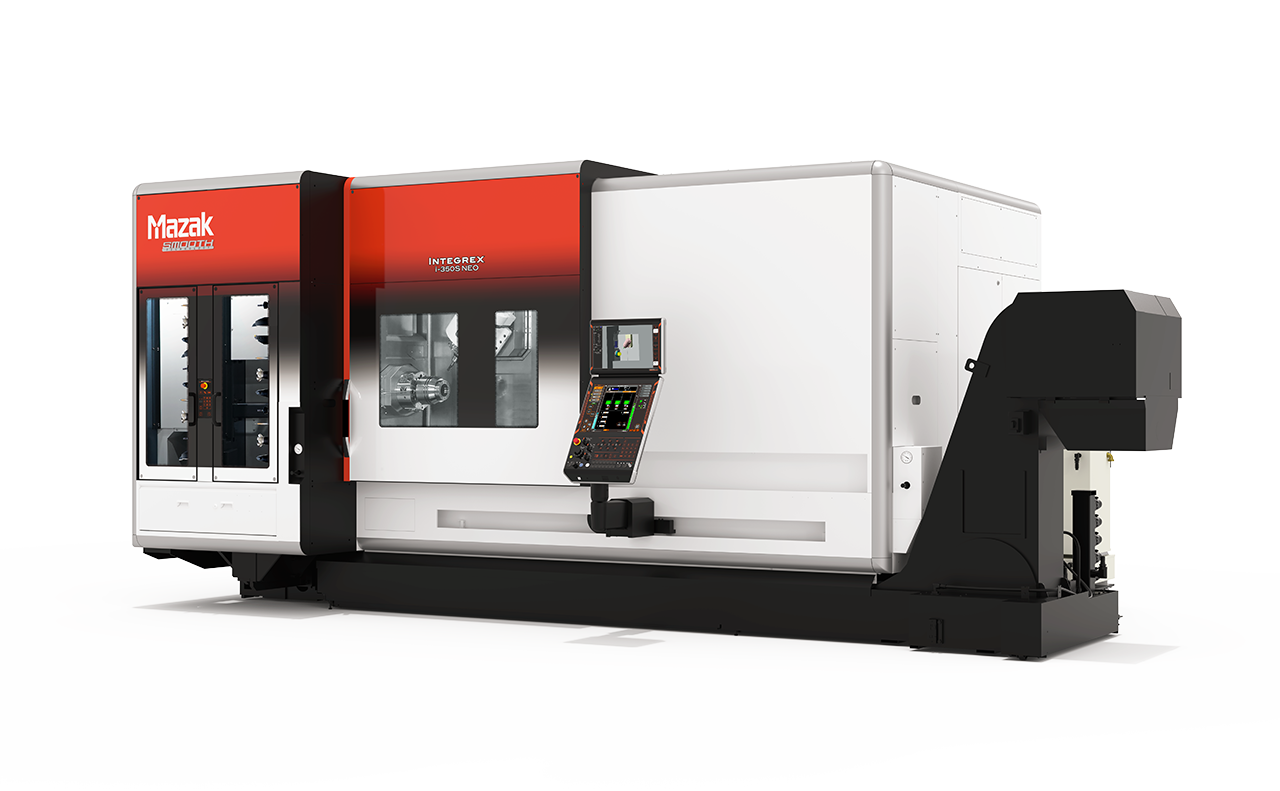
| Chuck size | 8″ |
| Max. machining diameter | Φ670 mm |
| Max. machining length | 1011 mm / 1519 mm |
Multi-Tasking Machines
INTEGREX AG
- Gear process integration for high accuracy machining and reduction of in-process time
- Three types of gear machining methods (gear skiving, hobbing, and endmilling) are integrated to meet diverse needs, from high-mix low-volume production to mass production
- Conversational programming for cutting tool paths and measurement can be easily made in a short period of time

The integration of INTEGREX with gear cutting and measurement
The INTEGREX AG series perform turning, milling, 5-axis machining and gear machining
Three gear machining methods - gear skiving, hobbing, and endmilling - are integrated into this single machine. It meets your production needs, ranging from flexible machining using general-purpose end mills to mass production using specialized tools. Furthermore, gear measurement can be performed in the machine.
- 1: |5-axis machining
- 2: |Gear cutting
- 3: |Gear measurement

Produce gear without dedicated gear cutting machine
Gear skiving
Improved productivity thanks to high speed gear skiving
- High-accuracy gear skiving by unique control technology of INTEGREX AG
- The precision of the rotational synchronization between the turning spindle and milling spindle is maintained even at the maximum rotational speed of each spindle
- Gear skiving can be performed using a small diameter cutter and a small diameter workpiece, or using a carbide cutter

Jet stream chuck coolant (optional)
Jet stream chuck coolant reduces chip bite into the gear surface during internal gear skiving and extends the tool life. The nozzle adjustment allows you to rotate the scattering angle (40° to 95°).

2: Machining with Jet stream chuck

Hobbing
Achieved ISO Class 7 machining accuracy
Smooth Gear Hobbing, machining programming support software for Gear hobbing, is equipped with a "hob shift function" that shifts the processing point of the hob cutter for each pass, extending the cycle until the hob cutter needs to be resharpened, and a "tooth lead modification function" that adjusts the tooth contact point of the machined gear.

Endmilling
You can use commercially available end mills. Using the dedicated software "Smooth Gear Milling", gear teeth can be cut one by one with a standard end mill. The "Tooth Profile Correction Function" and "Tooth Lead Correction Function" modify the machined gear teeth. The functions provides ISO class 5 (former JIS class 1) machining accuracy.

In-process time reduction
Comparison of hobbing by multi-tasking machine and endmilling by INTEGREX AG
In the case of parts machining for high-mix, low-volume production, specialized tools such as hob cutters require a lot of time just to prepare the tools and jigs. INTEGREX AG can machine a wide variety of gears with commercially available end mills, thus significantly reducing manufacturing lead times.
1: Preparation of tools and jig
2: Programming
3: Gear machining
4: Machining

Gear tooth location for in-phase positioning of other machined features
Gear tooth radial in-phase location
After gear skiving or hobbing, the center angle of the gear tooth groove is identified. Based on the identified phase angles, the machine can be automated up to keyway machining, drilling, and deburring with a ball endmill. The central angle of the gear tooth groove is identified on the end face or tip circle while determining the presence or absence of teeth. The actual identification accuracy is 0.005 degrees (16 μm on a 360 mm diameter circle). The probe posture and probe feed direction without interference can be set according to the shape of the target workpiece and the stylus contact points.

Supporting high-quality production with pitch measurements using a touch probe
Pitch measurement
After machining, pitch measurements are performed with using a touch probe. In addition to the single pitch error, cumulative pitch error and tooth space runout, the pitch circle center is also calculated.


Gear face scanning is optionally available. Visualize the machined gear face by measuring the gear profile and lead.
Gear profile and gear lead measurement*
The gear profile and gear lead are measured immediately by attaching the scanning probe after machining.
The number of setups required for transporting the machined workpiece to the 3D measuring machine for inspection, and then back to INTEGREX for additional machining, is reduced.
The measurement results are displayed on the MAZATROL SmoothAi display, and the gear tooth surface can be viewed.
*Option

Gear tooth surface measurement with scanning probe

MAZATROL SmoothAi displaying measurement results
Measurement results on the CNC display can be output as an image (PNG file) with a single touch.
Conversational programming for high-accuracy gear cutting and measurement
Programming are created easily and quickly by simply setting up the various parameters and feedrates indicated in the drawings while viewing graphical guidance. This supporting software creates dedicated G-code programs, and further generates machining and measurement paths automatically. Gear cutting and measurement are performed by pressing the cycle start button.


